How to photograph clothes for a digital closet
Start with the clothes you actually reach for
You do not need to photograph your entire wardrobe before a digital closet becomes useful. Start with a small group you wear together: three tops, two bottoms, a jacket and your everyday shoes. That gives you something practical to organize and combine while you learn the process.
A useful garment photo answers a simple question: what is this piece, and what does it look like on its own? Clear edges, believable color and a complete outline matter more than a styled background. DressNyse’s digital closet starts with your clothing photos; taking a little care here makes the next steps easier.
Make a simple place to take your photos
Choose a flat surface near soft daylight. Spread out the garment, smooth obvious folds and leave a little space around its entire outline. Keep sleeves and hems visible. Stand above it with the phone facing the surface as squarely as possible, rather than photographing from a steep angle.
Use a background that separates from the item. A white shirt is easier to distinguish against gray than against a white bedspread. For a dark jacket, use a lighter plain surface. Remove hangers, bags and nearby clothes from the frame when they obscure the garment.
- Use even light across the whole piece; move away from hard window shadows.
- Keep the full garment inside the frame, including sleeves and trouser hems.
- Avoid busy patterns beneath the clothing.
- Photograph the garment by itself rather than wearing it.
- Check that the photo resembles the color you see in person.
A quick example: photograph a white shirt
Lay a white Oxford shirt on a plain medium-gray surface, with both sleeves extended enough to show their shape. Leave the collar and bottom hem visible. Move the setup out of direct sunlight if one side looks much brighter than the other.
Take a photo, then zoom in briefly. If the sleeve edge disappears into the background or the collar is cut off, retake it before uploading. If a distinctive back panel or detail matters, photograph that side too. Treat front and back as two views of the same item, rather than two different shirts.
Bring the photos into DressNyse
- Open Wardrobe and tap Add item.
- Choose Gallery for photos you already took, or Camera to take one now.
- Check the image. Use Crop & Edit if needed, then Looks Good to continue.
- If asked Add the back too?, choose Upload Back or Skip.
- Use Upload, then review the item after processing.
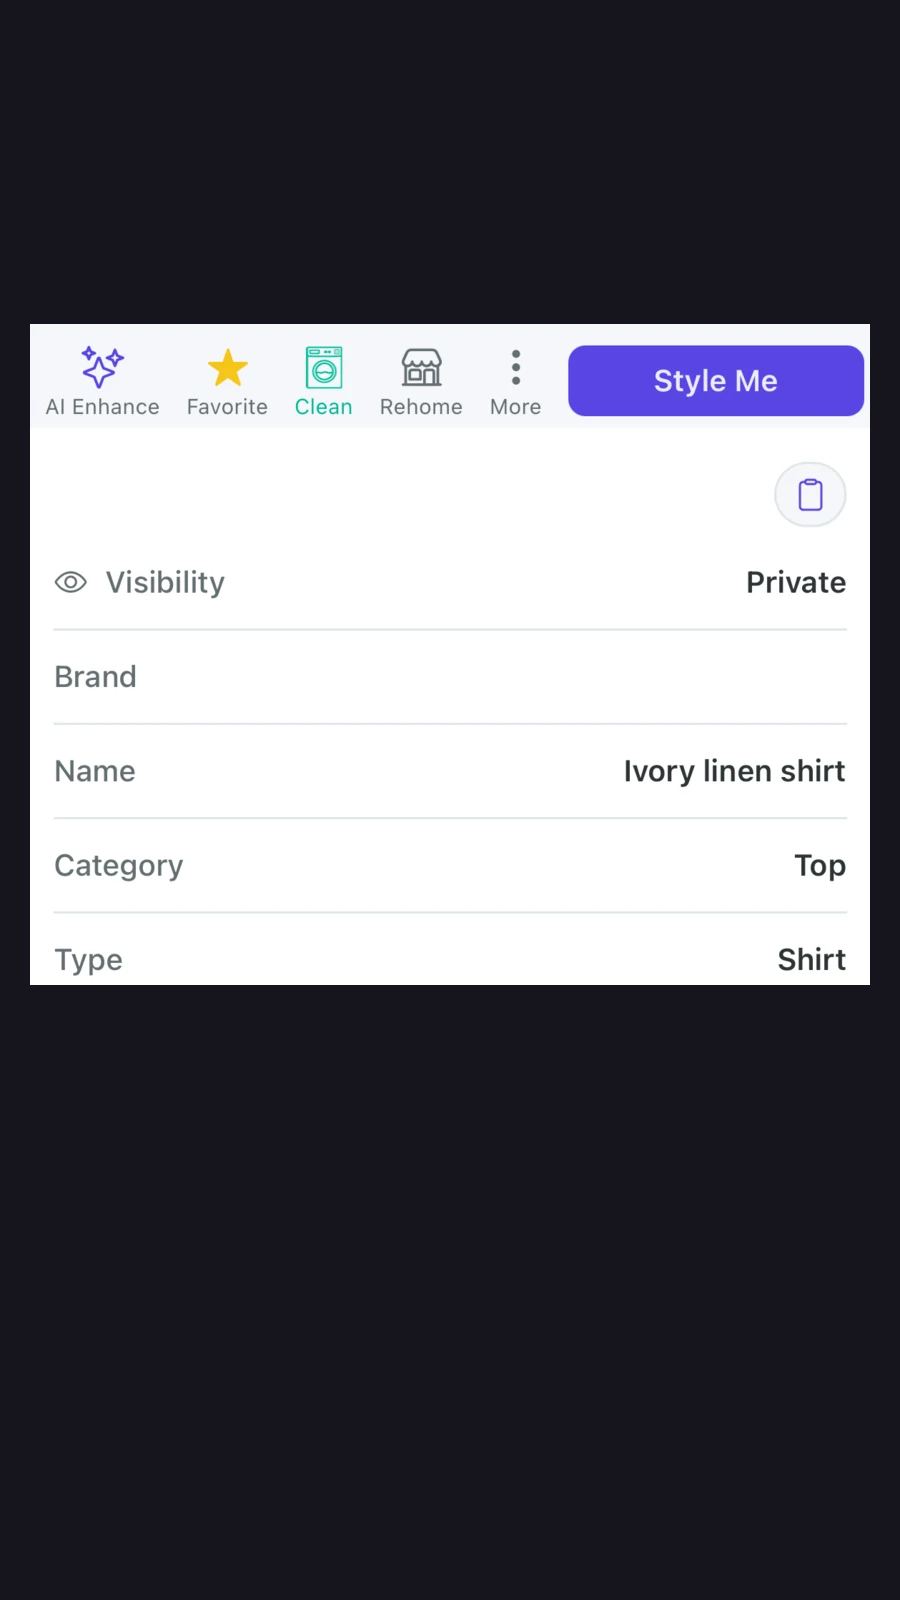
Open the garment’s Details and correct its name, color or category if necessary. A useful name such as “White Oxford shirt” is easier to recognize than a vague label. Automatic processing can make mistakes; your review gives the closet a better starting point.
Fix the source photo before adding more
| What you notice | What to change |
|---|---|
| An edge disappears | Choose a more contrasting background and unfold the hidden section. |
| The item looks much warmer or darker | Use more even light and compare the photo with the garment before uploading. |
| Other objects seem part of the item | Clear the surface and take a new photo of that piece alone. |
Once your first group looks right, build a combination in Outfit Builder. You can then save and plan an outfit, or learn when a collage or virtual try-on is useful. Your next step: photograph one complete outfit you already enjoy wearing.
PUT IT INTO PRACTICE
Your wardrobe is the starting point.
Explore digital closet in DressNyse, or join the interest list for a chance to help shape the app.
Join the beta interest list ↗