Virtual try-on vs outfit collages: what’s the difference?
Two previews, two useful questions
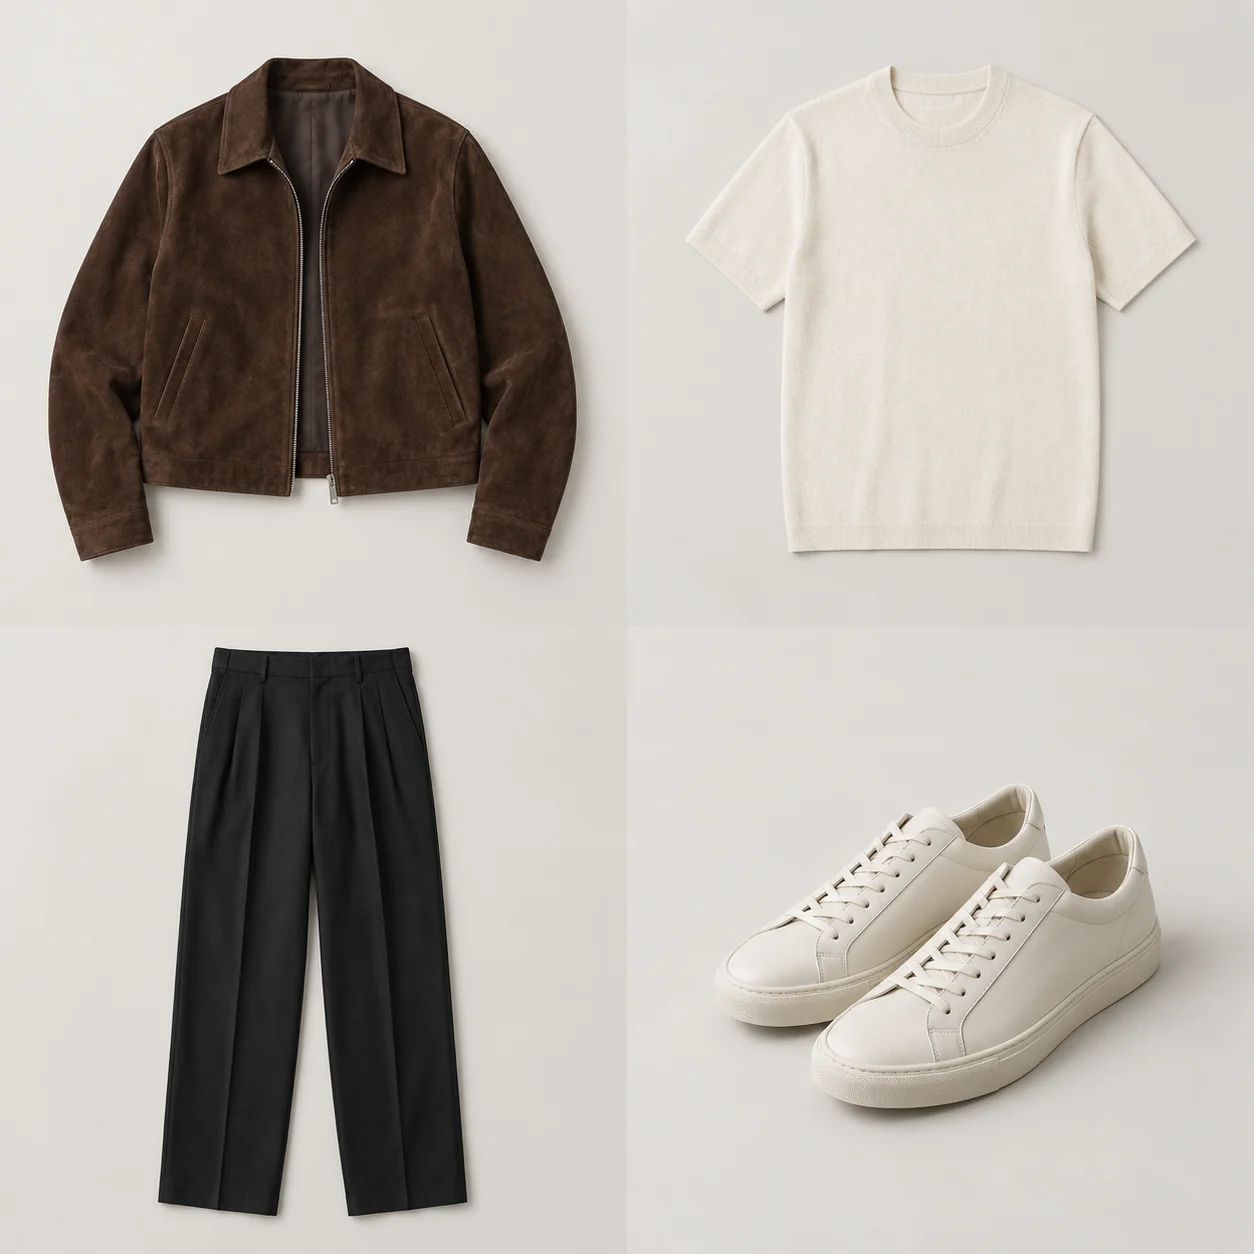
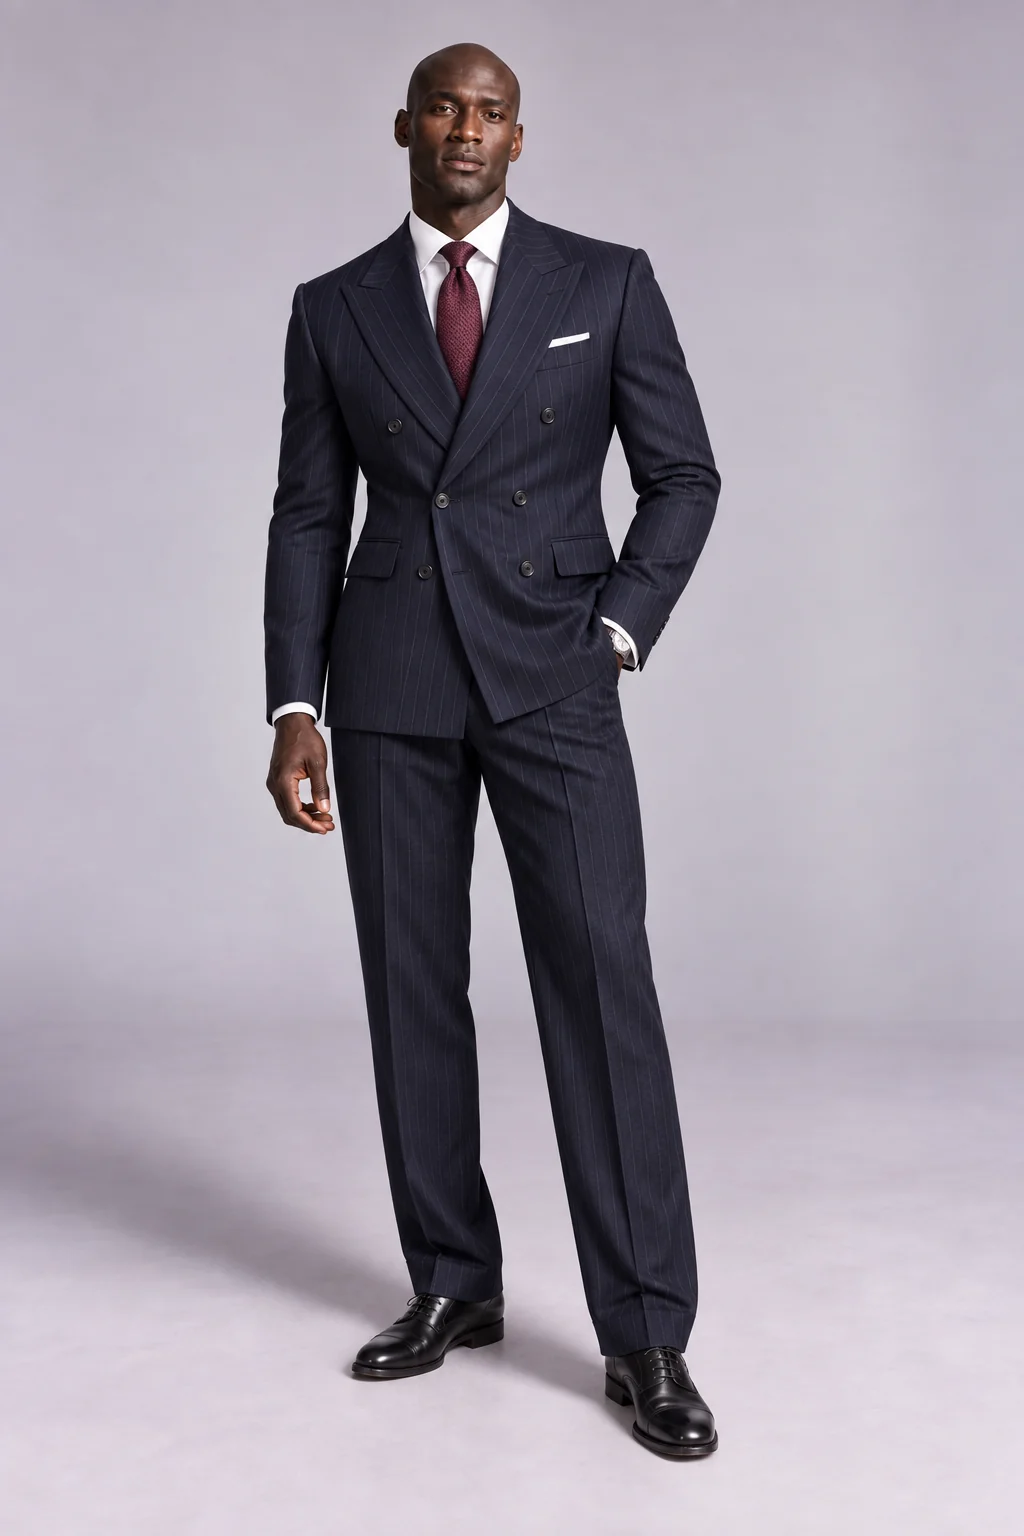
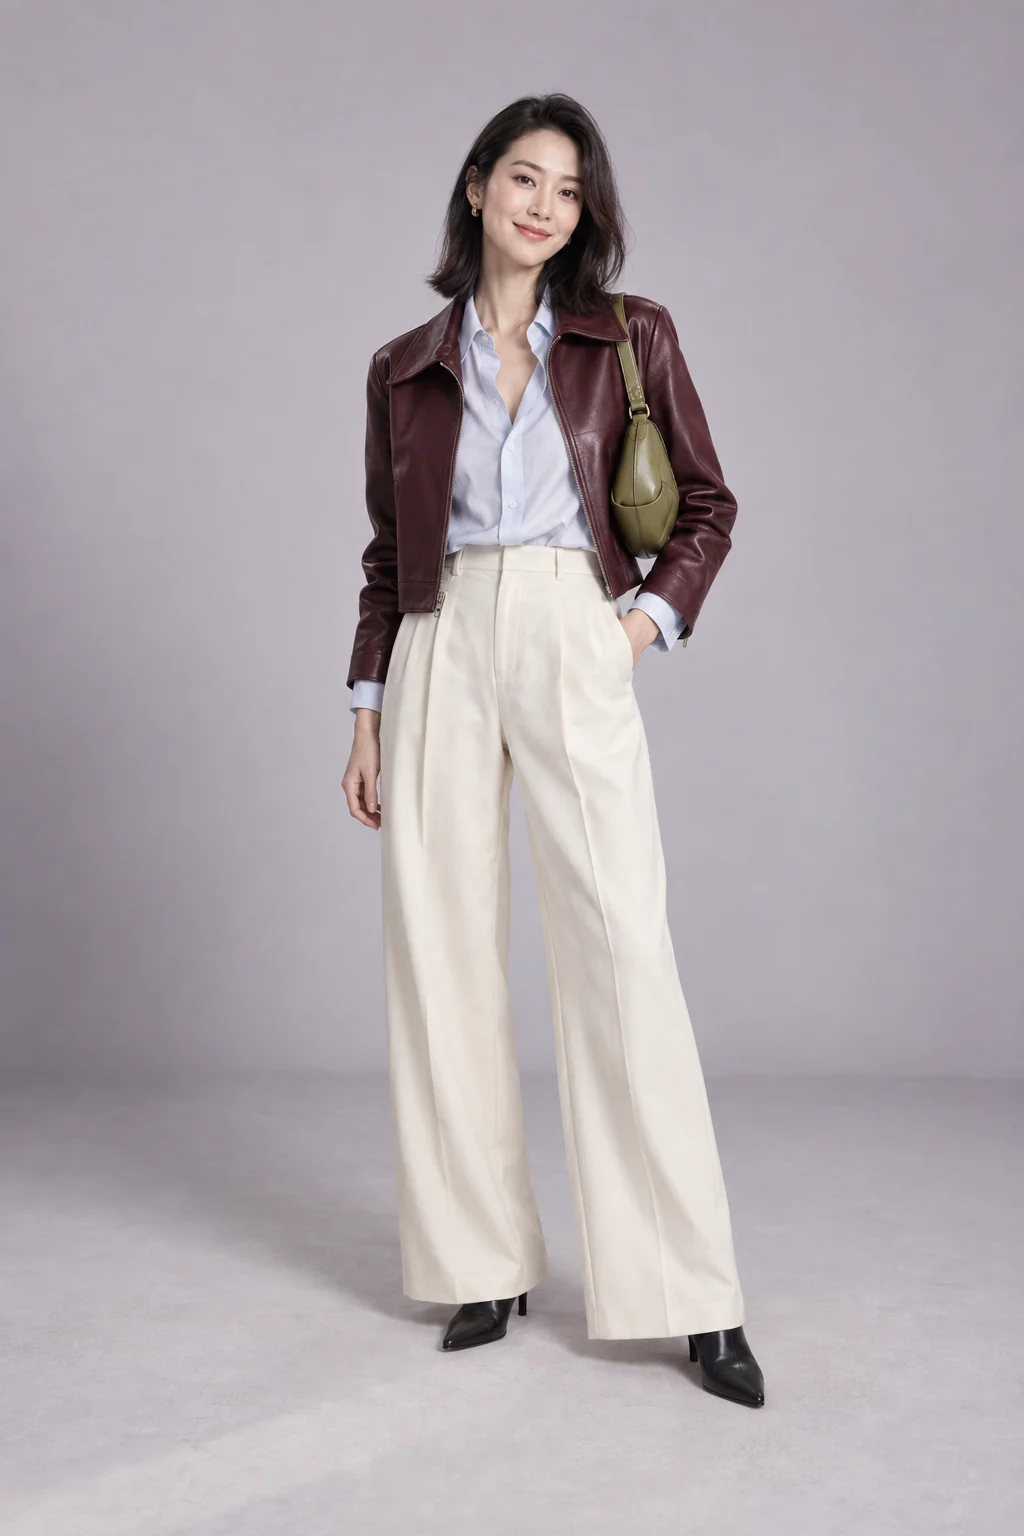
An outfit collage helps you ask, “Do these pieces work together?” A virtual try-on helps you ask, “How might this combination look on an avatar reference?” Both can support an outfit decision, but they show different things.
In DressNyse, Outfit Builder is the place to assemble garment cards and explore combinations. Try On creates an AI-generated visual preview using selected clothing and an avatar reference. You can move from arranging the pieces to previewing the look without treating either image as a promise about physical fit.
Choose the view that matches your decision
| Question | Outfit collage | Virtual try-on |
|---|---|---|
| What are the individual pieces? | Keeps separate garments visible on the canvas. | Shows a combined, generated presentation. |
| Which jacket or shoes should I change? | A useful starting point for comparing alternatives. | A way to consider the revised overall look. |
| How might the outfit appear on a person? | Does not place the clothing on a body. | Uses your selected avatar reference. |
| Will the clothes fit comfortably? | Does not measure physical fit. | Does not guarantee size, fit, fabric behavior or comfort. |
A collage also makes it easy to notice what is missing: footwear, a layer or a suitable top. A generated image can help you imagine the combination, but inspect the source garments when exact details matter.
Start with the pieces you want to wear
Try a simple example: dark trousers, a white tee and sneakers. Open Outfit Builder, fill the slots, then compare a navy blazer with a casual jacket. Lock the trousers and shoes if you want to keep those anchors while changing other pieces.
Tap a garment and use Swap Item to explore an alternative. Arrange the canvas so the pieces are easy to compare. This stage is about your own wardrobe choices; you do not have to generate an avatar image for every possible combination.
Clear photos make those choices easier. If a garment is hard to recognize, return to its details or use the clothing photography guide to improve the starting image in your digital closet.
Use Try On when you want the overall impression
- From the builder, choose Try On. You can also open it from the menu or use a saved outfit’s Try It On action.
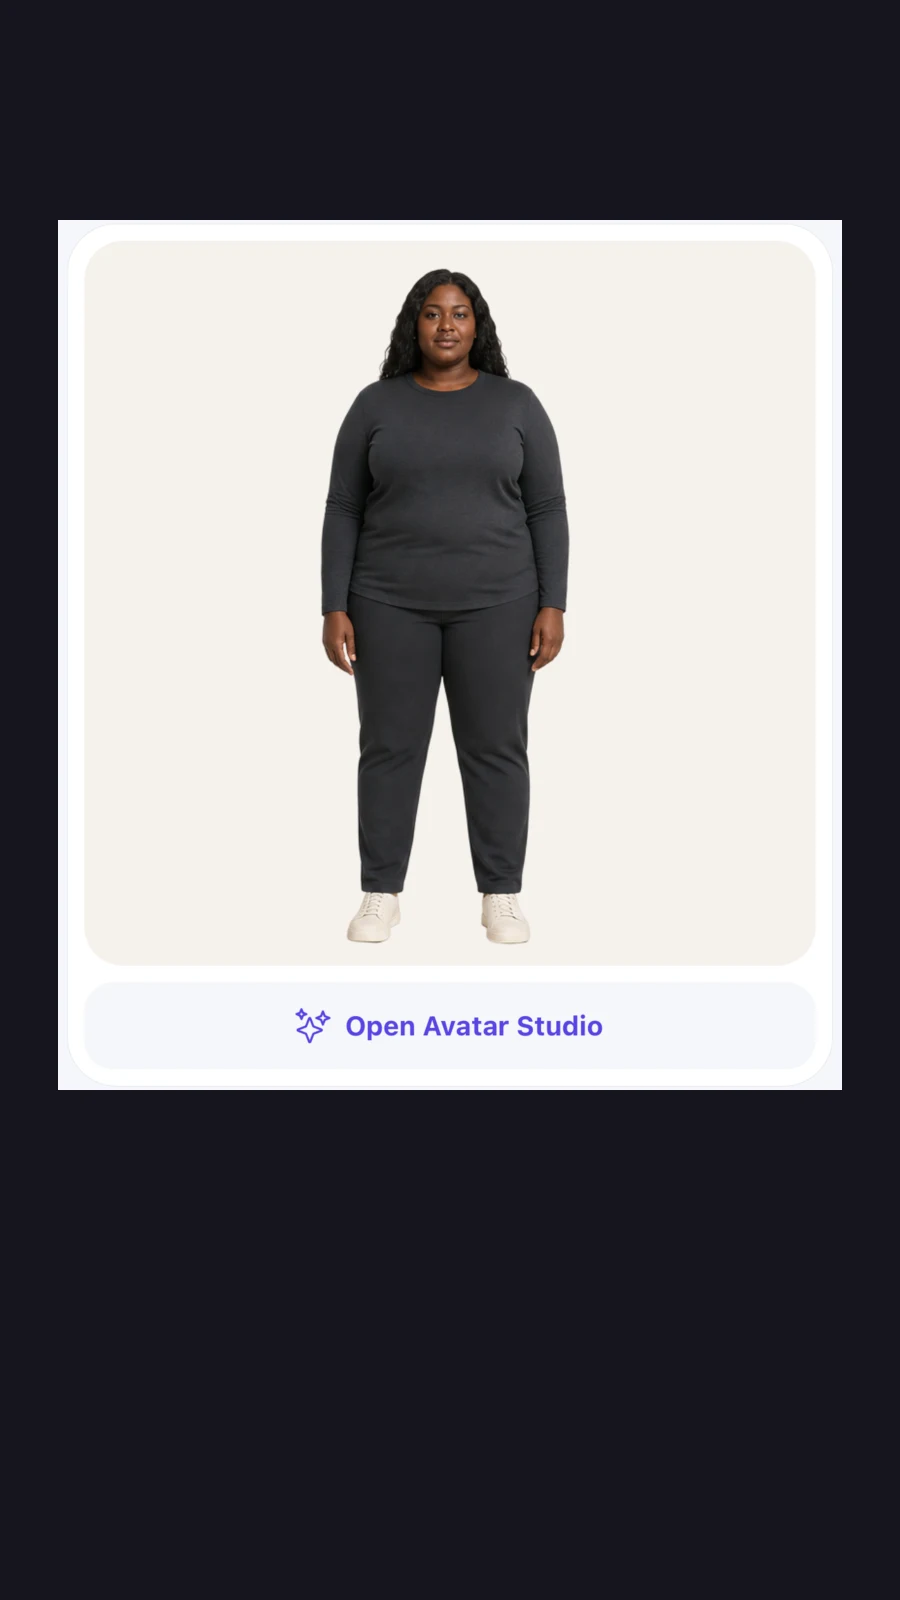
- Tap Open Avatar Studio to review your reference. Personal photos are optional; a preset model gives you a starting point without uploading them. Save any setup changes before returning.
- Check Selected pieces. Use a top and bottom, or a Full Body piece, then add suitable footwear, a layer or accessories.
- Choose a pose under Pick a pose, then tap Generate try on.
Stay on the screen while its processing overlay is showing so you can follow the result. If generation fails, read the message, adjust an unavailable or incompatible piece if needed, and try again. A failed preview does not mean your saved outfit has disappeared.
Keep the outfit, then decide what comes next
A completed virtual try-on appears in Try On and can be shown on Home. Generating that picture does not by itself save a new outfit, add a Calendar date or record that you wore it.
Use Save Outfit in Outfit Builder to keep a combination. Open a saved look and choose Plan It when you want to schedule it. Confirm actual wear separately. That distinction keeps the outfit planner useful when an idea changes before you leave home.
Your next step: compare two jackets around one familiar outfit on the canvas, then preview the version you prefer. For a practical place to start, try a workweek rotation or an upcoming trip.
PUT IT INTO PRACTICE
Your wardrobe is the starting point.
Explore virtual try on in DressNyse, or join the interest list for a chance to help shape the app.
Join the beta interest list ↗